
Underwater Video with Auto Focus Cameras
SeaLife Staff
Recording underwater video is gaining popularity as video quality has greatly improved and editing/sharing video clips has never been easier. There is no better way to show the underwater world in action than with a good video clip. While there are lots of video shooting tips available online there is little discussion about techniques when using an auto focus camera. Here are few simple tips that will greatly improve your results.
First, it’s important to understand the difference between fixed focus and auto focus. Fixed focus cameras do not have any moving lenses. Pictures and videos will be in focus as long as you keep your shooting distance within the focus range of the camera. Most compact fixed focus cameras like the GoPro Hero and SeaLife Micro 2.0 will have a focus range of 12” (30cm) to infinity. Subjects inside the 12” shooting distance will not be in focus unless you use a macro lens accessory. The benefit of a fixed focus lens is that the subject will be in focus provided you maintain the shooting distance specified for the camera. The downside is you can’t shoot macro unless you purchase a close-up lens accessory.
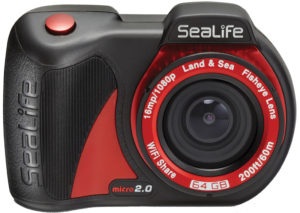
The Micro 2.0 is a Fixed Focus Camera.
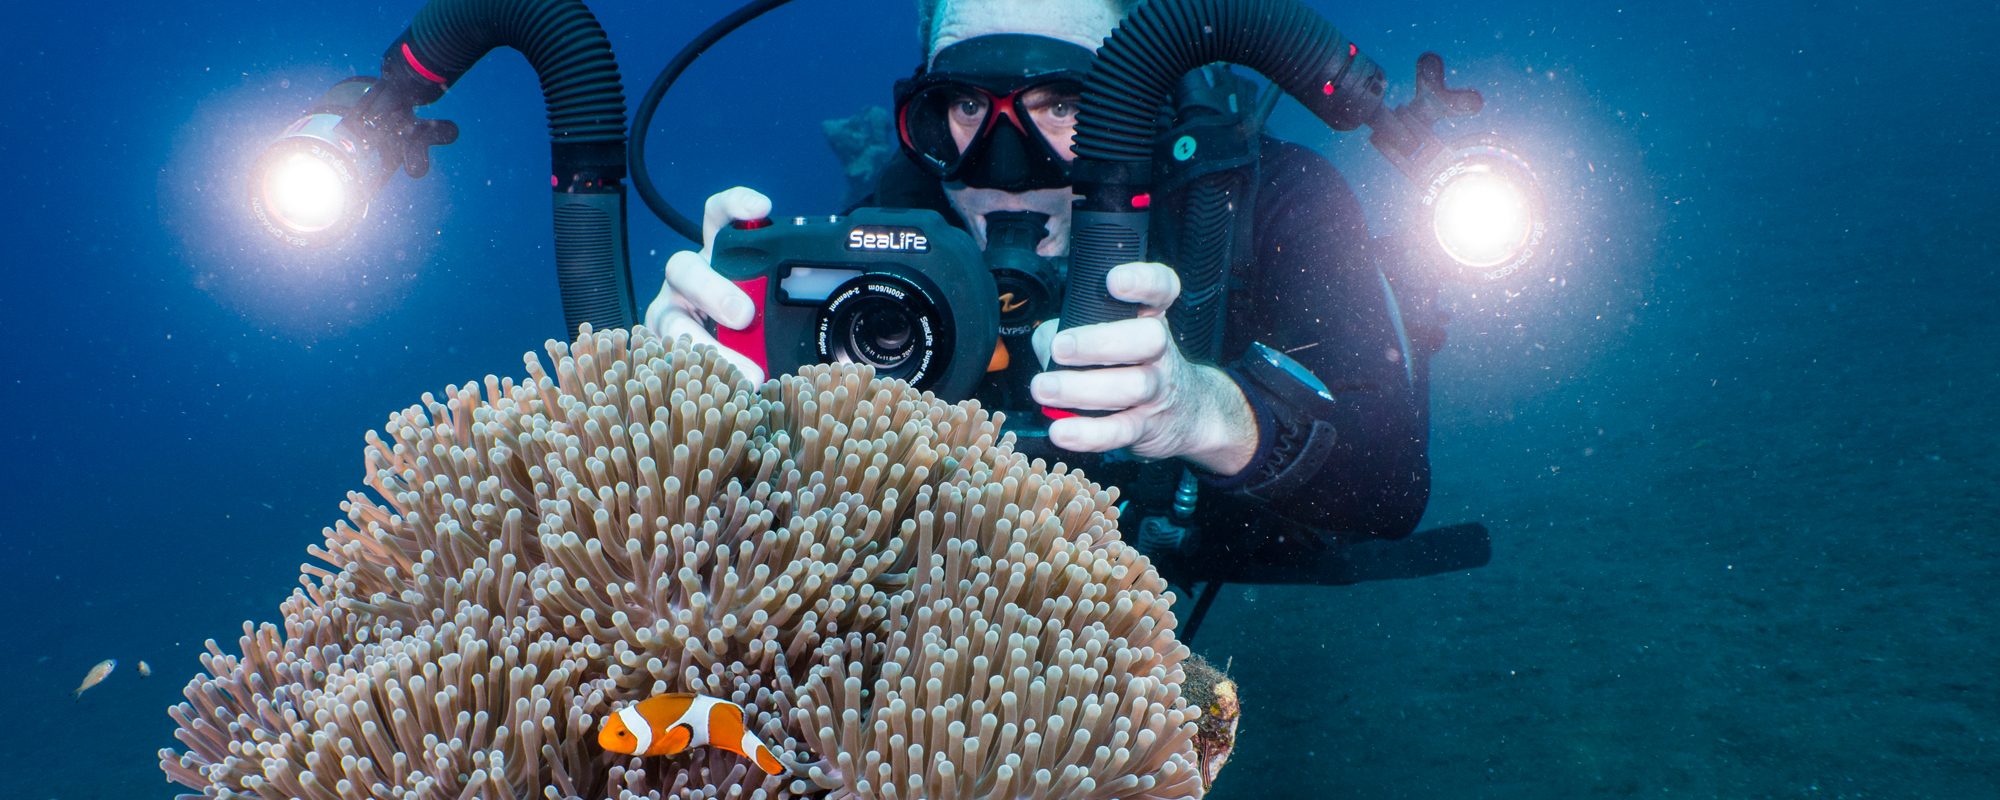
Auto focus cameras, such as the SeaLife DC2000, Sony RX100 and Olympus TG5, have moving lenses that allow the camera to focus on close-up and far away subjects. The close-up range is typically within a few inches, so you can capture some amazing macro shots. The downside is that the camera may not “see” the subject you are trying to capture and focusses on something else, resulting in an out-of-focus shot. Auto focus cameras need good lighting and contrast to “see” and focus on the subject.
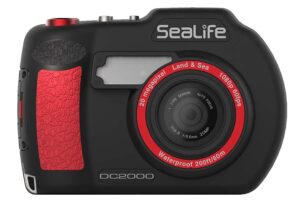
The DC2000 is an Auto Focus Camera.
Shooting video with an auto focus camera can be more challenging because you are capturing a moving scene and your shooting distance to the subject may change.
Most auto focus cameras include a continuous auto focus or “Continuous AF Video” setting that you can turn on or off. If continuous focus is turned ON, the camera will check and adjust the focus every few seconds throughout the video clip. That sounds like a good solution but the frequent refocusing can be disruptive when playing back the video – Every time the camera automatically adjusts focus, the lens moves in and out, and the entire scene will be blurry for a few seconds until the camera stops focusing. On the other hand, if continuous focus is turned OFF, the camera will initially set the focus before video recording starts and then lock the focus throughout the remainder of the video clip. That makes for a sharp video only if the subject remains at approximately the same distance. If the subject moves closer or farther away, it may no longer be in focus.
Use infinity focus when your subject will remain beyond a 3ft shooting distance.
It is important to know that most auto focus cameras have an infinity focus range, which is typically around 3ft(1m) to infinity. If continuous focus is turned OFF and the camera initially sets and locks the focus on an object at 6ft(2m), everything beyond 3ft will be in focus. Only subjects inside of 3ft will be out of focus. Conversely, if you know that your subject will remain beyond 3ft shooting distance, you can set the camera to “Infinity” focus, which locks the camera’s focus so all subjects within 3ft to infinity will be sharp.
Use Auto Focus with Continuous Focus & AF Lock ON when photographing a subject within 3ft and distance will change.
Another useful focus setting to learn about is “AF-L” (auto focus lock). When the camera’s continuous auto focus is turned ON, you control when the camera checks and adjusts the focus. For example, you start recording a reef scene and the camera initially sets the auto focus on the reef: You lock the focus to prevent the camera from readjusting every few seconds. While you’re recording, you spot a frogfish in the coral and swim closer to the reef. Now the scene becomes out-of-focus because you changed the distance and the focus is locked. Simply unlock the auto focus function, and allow the camera to readjust and then lock the focus again. With most cameras, including the SeaLife DC2000, this locking / unlocking of the focus is just a single button push. You only need to unlock and relock the focus as you make significant changes to your shooting distance. Note: The SeaLife DC2000 requires the latest firmware version that includes the auto focus lock feature.
Use Auto Focus with Continuous Focus & AF Lock OFF when photographing a subject within 3ft and distance will NOT change.
Now that you know about these important focus settings, think about the scene you are about to record and select the appropriate focus settings. Here’s a table showing the most common setups:
Type of Video Scene Being Recorded
Focus Setting
Continuous Focus
AF Lock
Comment
Subject will remain beyond 3ft shooting distance
Infinity
Off
Off
Camera will lock focus to infinity, so all objects from 3ft(1m) to infinity will be in focus. Infinity focus is also a good choice when shooting in low light or low visibility.
Subject is within 3ft and shooting distance will NOT change
Auto (regular AF setting)
Off
Off
Camera will set and lock the focus on the subject and not change the focus throughout the video clip.
Subject is within 3ft and shooting distance will NOT change
Auto (regular AF setting)
Off
Off
Camera will initially set the focus on the subject. Push the AF Lock button to lock the focus. Whenever the shooting distance changes, unlock and relock the focus.